
Ashes of the Singularity II Defenses: Turtling Guide
Quick answer
Defenses in Ashes of the Singularity II are built from your headquarters' build menu, and crucially you can keep placing them even after a region's main building slots are full. The map is divided into regions, each with a limited number of building slots — the headquarters region in Oxide's own dev journal has five — but smaller structures such as vanguard turrets and flak batteries do not consume those main slots. That is the core of turtling: fill a region with buildings, then layer defensive emplacements around them without running out of room. This page walks through how that system works, based on the developer's Defenses and Turtling video dev journal on the game's Steam news hub.
| Region building cap | Each region holds a limited number of buildings; the headquarters region shown in the dev journal has five main building slotsAshes of the Singularity II - Video Dev Journal: Defenses and Turtling |
|---|---|
| Defenses bypass the slot cap | Vanguard turrets and flak batteries can still be placed in a region that has used all of its main building slotsAshes of the Singularity II - Video Dev Journal: Defenses and Turtling |
| Mortar turret unlock | The UEF mortar turret requires grabbing a technology before it can be placedAshes of the Singularity II - Video Dev Journal: Defenses and Turtling |
| Release date | November 10, 2026 on Steam (Windows)Ashes of the Singularity II on Steam |
Learn how Ashes of the Singularity II defenses work: building slots, turret placement, flak batteries and mortar turrets to fortify your base against attacks.

Table of Contents
Defenses in Ashes of the Singularity II are built from your headquarters' build menu, and crucially you can keep placing them even after a region's main building slots are full. The map is divided into regions, each with a limited number of building slots — the headquarters region in Oxide's own dev journal has five — but smaller structures such as vanguard turrets and flak batteries do not consume those main slots. That is the core of turtling: fill a region with buildings, then layer defensive emplacements around them without running out of room. This page walks through how that system works, based on the developer's Defenses and Turtling video dev journal on the game's Steam news hub.
How the region slot system works
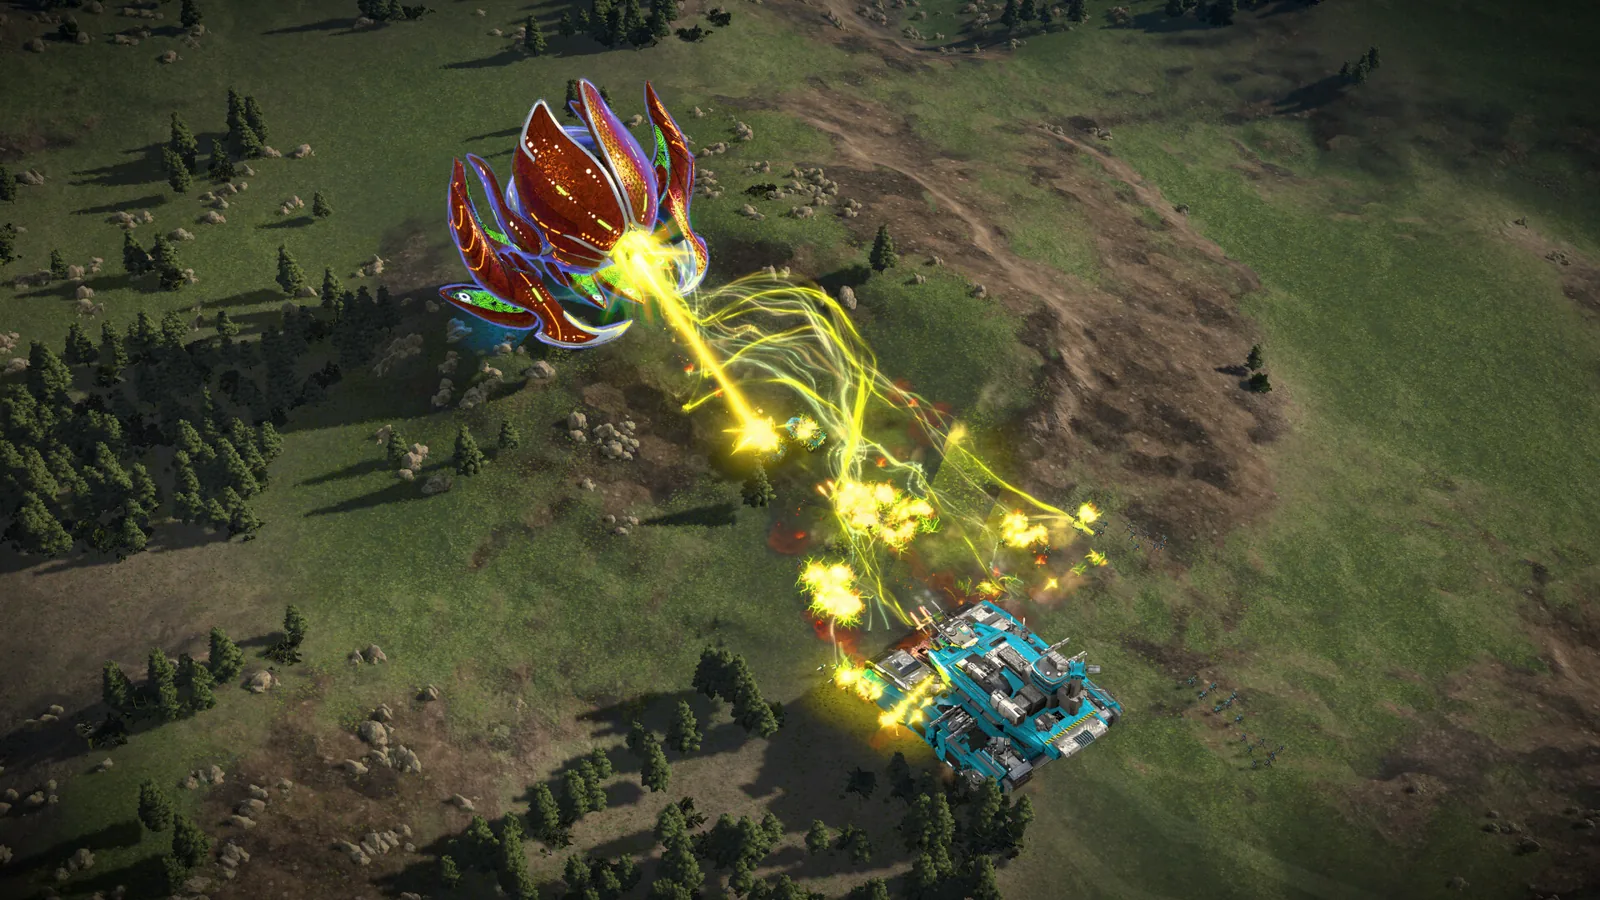
Every region on the map can hold only a limited number of buildings or other structures. In the dev journal, executive producer Brett Norton shows a headquarters region that has already used all five of its main building slots, while a side region holds only one and still has four open.
The important part: once a region's main building slots are used up, you cannot add more large buildings there, but you can still open the build menu from your HQ and place smaller defenses. Vanguard turrets along a ridge line, for example, remain available even in a fully slotted headquarters region. So planning a fortified base means budgeting big structures carefully and relying on defensive emplacements for the rest of the region's footprint.
Building your first defenses
Open the build menu from your HQ
Select your headquarters and open its build menu. The defensive options appear there alongside your regular buildings, even in a region with no remaining main slots.
Place vanguard turrets where attackers will come
Pick spots like ridge lines or the approaches to your HQ. Placement is free-form within the region, so line them along natural terrain edges facing the likely attack vector.
Queue several at once
You do not have to place emplacements one at a time. Queue up a batch and the workers fly out and construct them roughly in the order you placed them.
Keep your army active while they build
Defenses take time to finish. In the dev journal the player sends forces to attack a neighbouring region while the turrets construct, using the build-up time productively instead of waiting.
When the emplacements finish, the workers have built a defended headquarters region and you are protected against ground raids on that front.
Anti-air coverage with flak batteries
If you spot hostile jets over your territory, expect an air attack and add flak batteries. They have a fairly large range, but a single battery cannot cover a base whose buildings are spread out. The practical answer from the dev journal: place one flak battery on each side of the spread-out buildings — one near the HQ, another further out — so the combined coverage wraps the whole region and every major structure sits within a wide radius of anti-air.
Two batteries covered the spread-out base in the demo because of the layout. A compact base may need fewer; a very wide one may need more. Judge it by whether your key structures sit inside the shown coverage radius after placement.
Using mortar turrets offensively
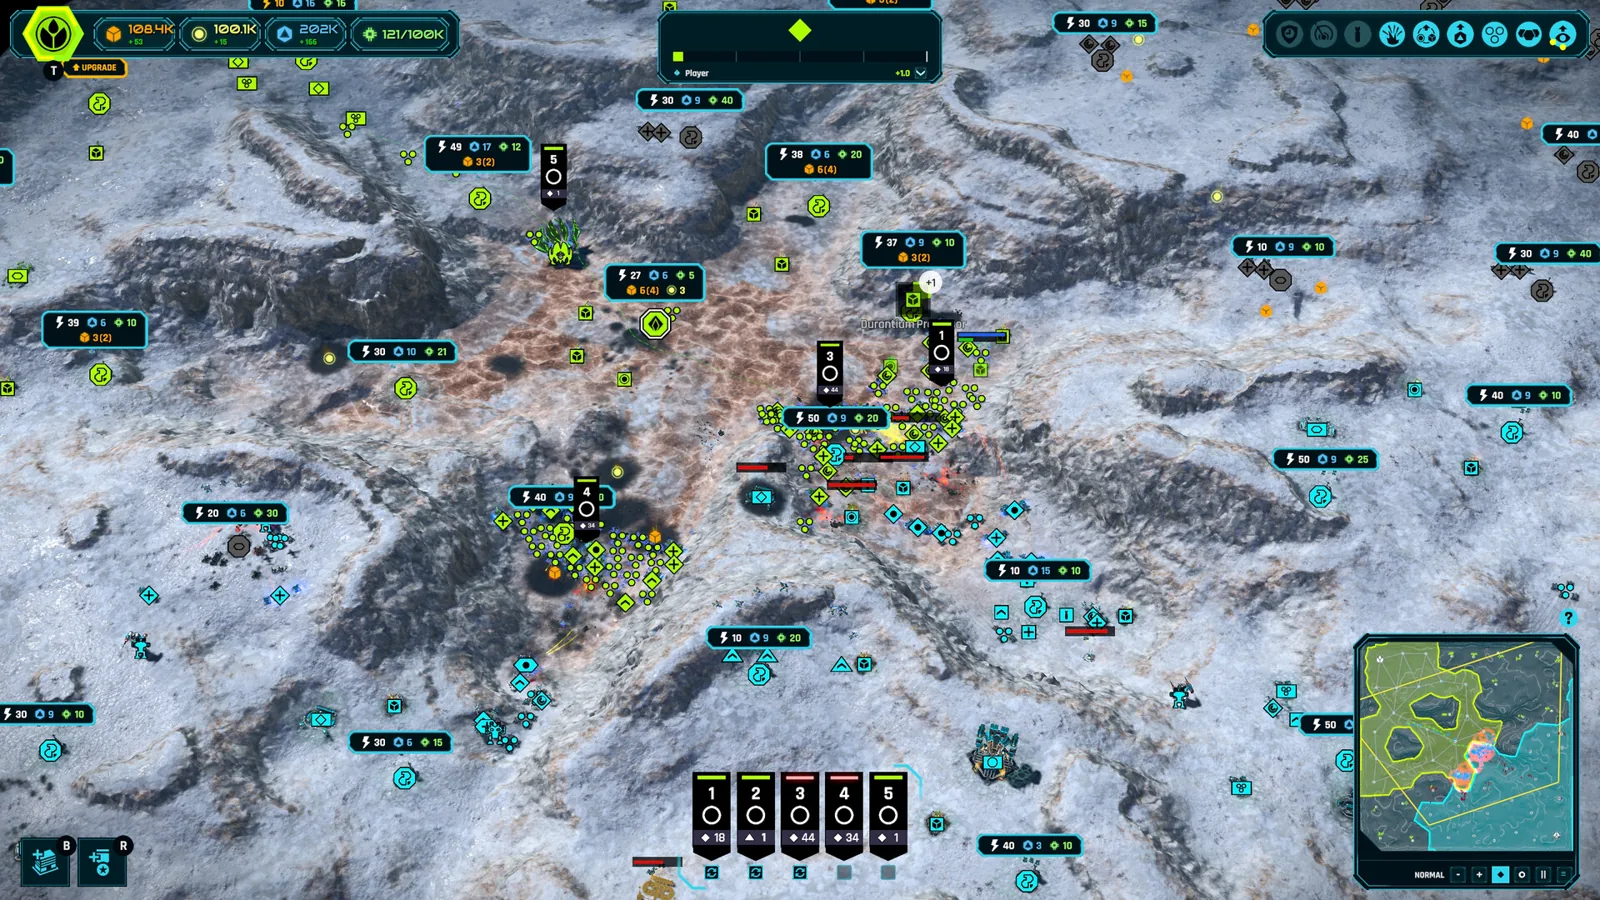
Defenses must be placed inside your own region, but their range can reach into enemy territory, and the mortar turret is the clearest example.
Research the technology first
Grab the technology that unlocks the mortar turret for the UEF before you try to place one. Without it, the option is not available.
Place them along your region's border
Put mortar turrets right against the edge of your territory. This is risky — they are exposed there — but their range is long enough to touch the deep parts of the neighbouring region.
Let the built-in radar do the targeting
Once online, mortar turrets expose hostile radar signatures automatically and start firing indirect artillery shells into that range, softening defenders near targets like a relay structure.
Attack into the shelled region
Move an army into the neighbouring region while the shells land. With the defenders softened up, capturing the region becomes straightforward.
The dev journal's summary: just because defenses have to be built in your region does not mean they cannot fire into and harass your opponent's region. Clever, slightly risky placement turns them into a weapon.
Turtling as a winning strategy
The developers state there are late-game defenses with very long range and high impact, so a defensive strategy is viable through the whole match rather than only as an early stopgap. Their own tagline: sometimes defense is the best offense.
One recorded example shows the concept in multiplayer testing. The official Steam announcement hub posted a video blog called Running the Gauntlet, in which two UEF players attack each other through a narrow pass; blocking units and mortar emplacements did heavy damage to closely clustered armoured formations. Terrain like mountain passes and choke points — the Ashfall Caldera map is described as a labyrinth of trenches and gullies with choke points that let defenders hold off otherwise insurmountable odds — magnifies the value of emplaced defenses.
What players are still asking for
Not everything a turtle player might want is confirmed in the game. In the Steam community discussions, players have requested walls, additional defensive structures such as shield generators, and base templating, comparing the game to Supreme Commander. That thread is a feature request, not confirmation, so do not expect walls or shields unless the developers announce them. Players in the same thread also report pathfinding problems on the alpine and tundra maps, with armies and traffic jams struggling in narrow terrain — worth remembering if your defensive choke points rely on unit movement.
- Open the build menu from your HQ — defenses are available even in a fully slotted region
- Queue vanguard turrets along terrain edges facing likely attack routes
- Add flak batteries on each side of a spread-out base once jets appear
- Research the UEF technology before attempting to place mortar turrets
- Place mortar turrets on your region border to shell enemy structures indirectly
Next steps
- The demo walkthrough covers the playable slice where these mechanics first appear, useful for practicing placement before launch.
- The maps page details choke-point terrain like Ashfall Caldera, which determines where your turrets do the most work.
- The army control guide pairs well with the offensive mortar tactic, since it relies on coordinating an army attack into a shelled region.
FAQ
Do defenses use up my region's building slots?
No. Large buildings consume a region's limited main slots, but smaller defenses like vanguard turrets and flak batteries can be placed even after those slots are full, as shown in the developer's turtling journal.
Where should I put flak batteries?
Spread them across your region rather than stacking them in one spot. One battery near the HQ and another on the opposite side gave full anti-air coverage of a spread-out base in the dev journal; flak range is large but cannot wrap a wide layout from a single point.
Can I attack with defenses in Ashes of the Singularity II defenses like mortar turrets?
Yes. Mortar turrets placed along your own region's border have enough range to fire indirect artillery into the neighbouring region, and their built-in radar automatically reveals and shells hostile signatures, letting an army push in behind the bombardment.
Is turtling a viable way to win?
The developers say yes: late-game defenses have very long range and high impact, and their own journals repeatedly frame defensive play as capable of winning — "sometimes defense is the best offense."
Check note: details on slots, turret placement, flak coverage and mortar turrets come from Oxide's official video dev journal on the Steam news hub and its YouTube release, plus the official Steam store page for release facts and the Running the Gauntlet blog. The pathfinding reports and requests for walls and shields are unconfirmed player feedback from the Steam discussions, not developer commitments.
Related guides for this game
Guide Guides Index
Ashes of the Singularity II Ashfall Caldera Map Guide
Is there an Ashes of the Singularity II Ashfall Caldera map? No confirmed name exists; demo and playtest map counts and region-based tactics explained.
Ashes of the Singularity II Beginner Guide: First Match
This Ashes of the Singularity II beginner guide walks you through starting skirmish, building your base, capturing regions and winning your first match.
Ashes of the Singularity II Demo Walkthrough Guide
This Ashes of the Singularity II demo walkthrough covers factions, maps, modes and a first skirmish route from base build to victory, answering how to win.
Ashes of the Singularity II Army Control: Groups, Orders
Learn Ashes of the Singularity II army control: create armies, set rally points, use formations, reinforce and auto-replenish, and issue move and attack orders.
Access Guides Index
Ashes of the Singularity II Demo: Free Content Guide
Learn what the free Ashes of the Singularity II demo from Steam Next Fest includes: two factions, 8-player multiplayer, three maps and full skirmish mode.
Factions Guides Index
Ashes of the Singularity II PHC Guide: Quanta & Commanders
This Ashes of the Singularity II PHC guide explains the faction's tech research, quanta spending, unit roster, and commander choices so you can play it well.